• Home
  • Workshops and Classes
  • Gallery
  • Wilson Studio Blog
  • Links
  • painting-a-day
  • testcalander

Ten Painting Tips

8/31/2013

1 Comment

 
Picture
The following are ten steps I encourage all of our students to consider as they paint.
  1. Start with a Value Sketch. Break the scene into large shapes based upon values. This is the time and place to solve problems with your composition. If the value sketch doesn't look like a great painting in the making, then fix the compositional problems in the sketch, or do another one from a different vantage point.
  2. Trace out your composition onto your painting surface using your value sketch as your guide. Don't look at your subject while you do this, as there will be a temptation to add new things  into the composition.
  3. When you begin painting, rough in your focal point first and then establish your other major shapes based upon the focal point.
  4. Paint with a big brush to stop you from wasting your time and draining the energy from your painting. A 3/4" brush on an 8x10 canvas, 1" brush on a 12x16 or 16x20. Go bigger if you work on bigger surfaces.
  5. Learn to paint with your arm, not with minuscule movements of your fingers and wrist. By painting with your arm, you use the energy of your body vs the energy of your fingers.
  6. Watch where the light is coming from and what it does. Where are the highlights and where are the shadows? If you're painting plein air, capture these in your value sketch, and don't chase your shadows all over your canvas. Establish them in the beginning and stick to them.
  7. Start with your foreground and mid-ground shapes first. Finish by cutting in your background. This has two effects. It allows you to finish and refine your foreground shapes. And, the resulting painting will automatically look more "painterly".
  8. Vary your brushwork. Unless you are trying to achieve a specific effect, use different (appropriate) strokes for different areas. However, don't get too complicated either so that your brushwork becomes the subject of the painting. Do this for effect, not for it's own sake or to show off your technique.
  9. Make sure you balance your accent colours. Usually a good approach is to use your accent in three spots on the painting. The main accent, secondary and a tertiary spot. 
  10. Finish your painting by placing your final highlight and deep shadow marks.
Try these ten steps on your next painting and see if they help you keep out of trouble and produce stronger, more cohesive work.

Cheers,
Keith Thirgood
www.wilsonstreetstudios.com

1 Comment

Some Plein Air Tips

10/31/2012

3 Comments

 
After working with new plein air painters over the past couple of years I've found the following tips to be helpful.
Bringing order out of chaos
Painting out of doors can be overwhelming. There is just too much "stuff" in front of you to make a good painting. Your first job is to simplify by eliminating all extraneous details and items.
  • Determine what your focal point (centre of interest) will be. (You determine this, not the scene. It's your painting!)
  • Using a cropping tool (or your hands) to tightly focus in on your focal point.
  • Gradually move your cropping tool back to take in more of the scene until you find the best crop. Keep in mind to position your focal point in one of four sweet spots.
  • Now it's time to make a value sketch. Limit yourself to 3 or 4 values. Block in the major shapes. Don't bother with details. Concentrate on the major shapes. (Do a small, quick sketch, around 2" x 3", don't waste time on anything bigger.)
  • Analyze your sketch. Do you have a good composition? Do your lines and shapes lead your eye to the focal point? Are there any "problems" that should be fixed?
  • If you find problems, figure out how to fix them. Can they be fixed, or should you move on to a different scene? Your value sketch is the place to find and fix your scene. If the sketch is not right, you can't "fix it in the painting".
  • Transfer your sketch to your painting surface. As you do this, look at your sketch, not the scene. If you start looking at the scene instead of your sketch, you're in danger of getting sucked into the details.
Now you're ready to begin filling in your large shapes with your underpainting.
Picture
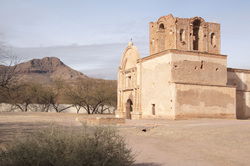
This is a shot of a typical scene.

Picture
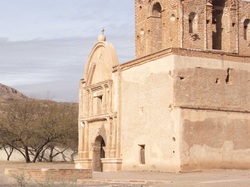
This is a crop of the same scene focusing on a focal point.

Picture
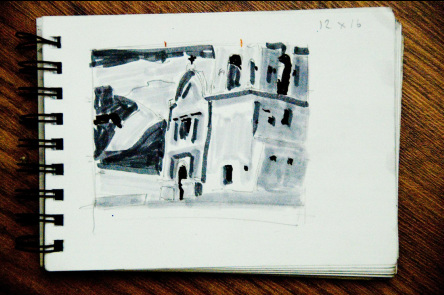
Here is a thumbnail sketch of the scene. I decided I wanted the mountain to show up in the scene so i moved it right. I also wanted more of the tower to show, so I shortened it.

Picture
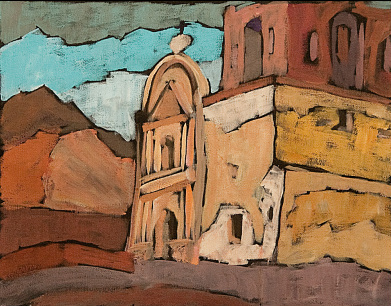
This is the final plein air painting.

3 Comments

Finding the Colour in a Scene and a Looser Style

5/8/2012

0 Comments

 
Some of my art students are struggling with (at least) two things: Finding the colours in a scene where they aren't all that apparent, and loosening up their painting style. For some reason, it's not all that easy to loosen up; I said to one person, you'd think we'd been asked to bungee jump when all we're doing is just pushing paint around on a canvas. Her friend retorted, it's more like jumping without the bungee. Yet we continue to aspire to a looser rendering, not trusting the result.
Picture
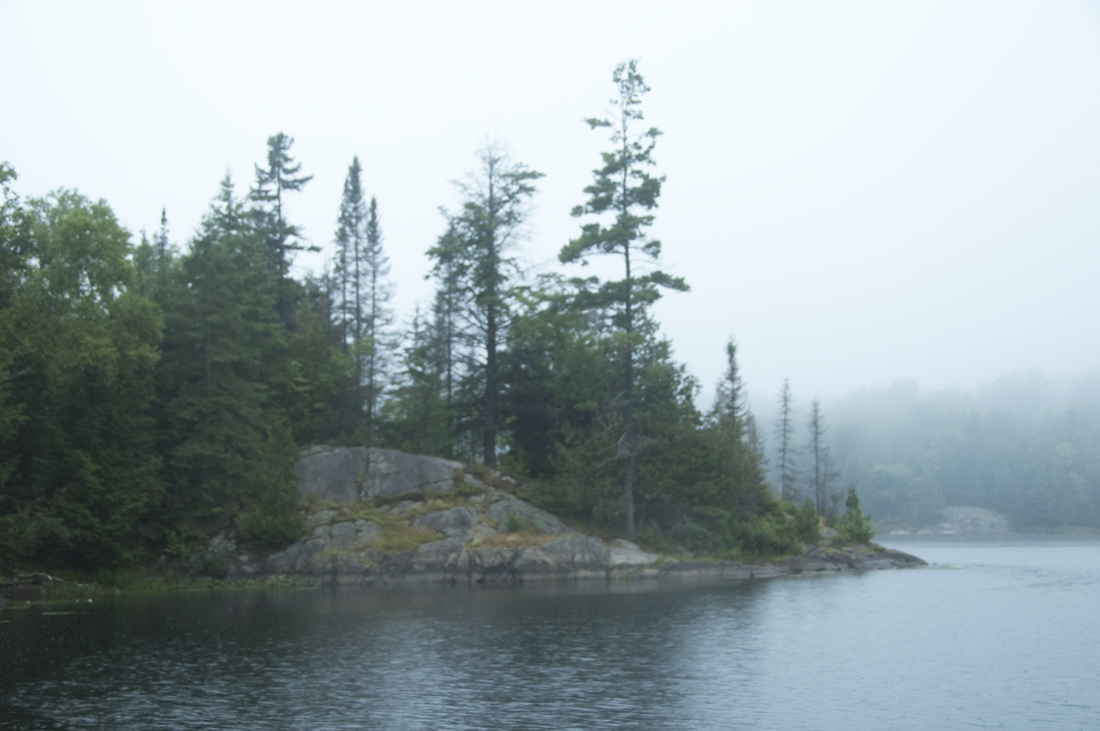
The rock and pine scene, above, faced us across the water as we set up our easels at a boat launch in Haliburton, Ontario on the first drizzly morning of A Brush With the Highlands, an annual weekend plein air festival.  
Picture
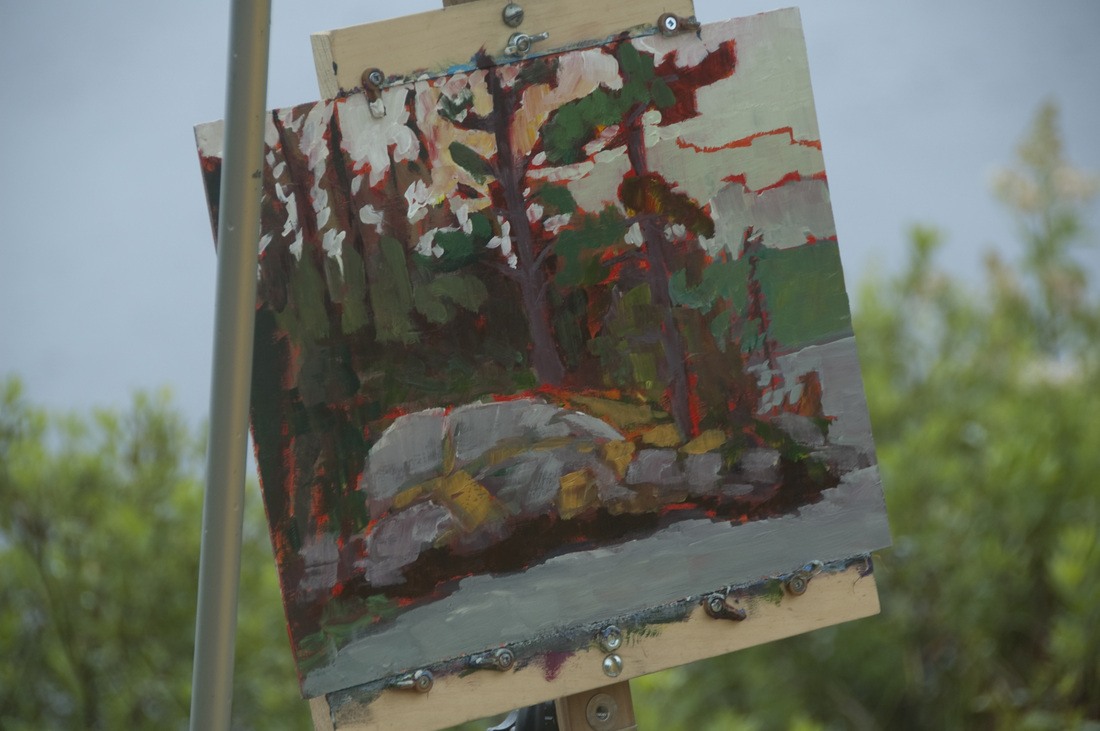
Mostly done when I took the shot, Keith's red underpainting shimmers through his shapes, giving an otherwise grey-green scene a spark of vitality and warmth, though you can still appreciate the cool, overcast elements.
Picture
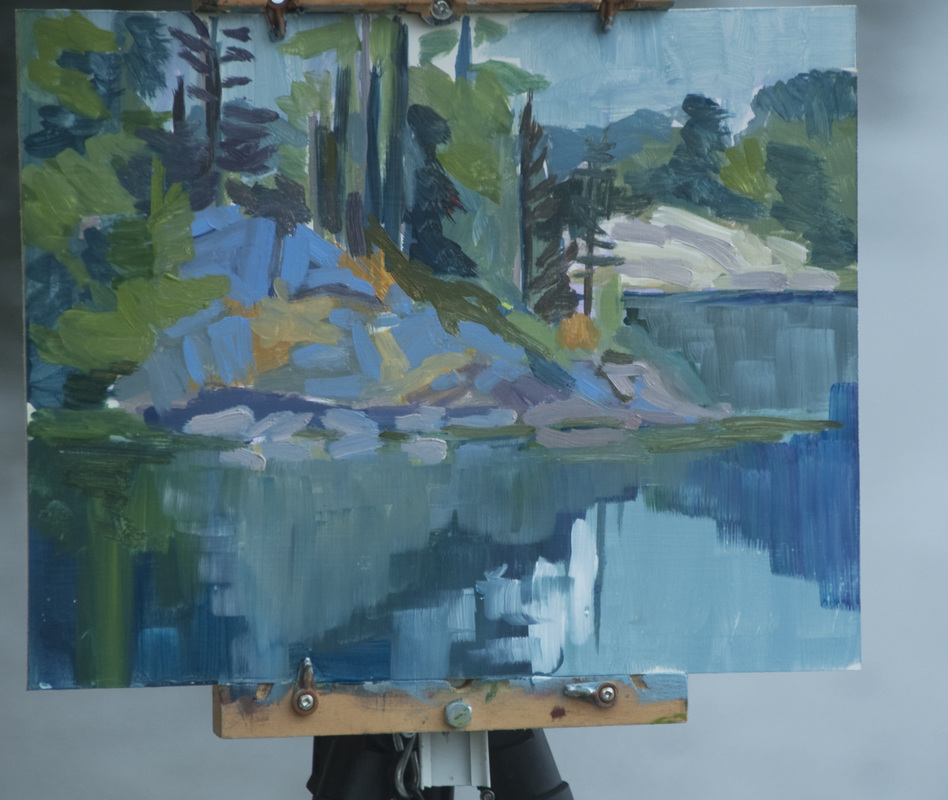
What to do? I could see that the rocks had some blue in them, so I laid down some quick blue strokes. I made the blue more intense, keeping the value correct. Working loose and fast I intensified the surrounding colours to keep in harmony with the new, more vibrant blue rocks. 

To get past tightness and fussiness I find the faster I work, the better the result. 

However, there are times when the best plan is to walk away rather than to linger, "finishing" and "fixing". Better to say, "My work here is done" and heed the siren call of the hot chocolate at the cafe down the road.
0 Comments

    Keith Thirgood

    Is an artist working in the Canadian, post impressionist style. I paint  en plein air when I can and in the studio the rest of the time.
    I teach both studio and plein air workshops and use this blog to supplement the classwork.

    Archives

    June 2019
    May 2015
    August 2014
    July 2014
    May 2014
    December 2013
    August 2013
    May 2013
    March 2013
    December 2012
    October 2012
    August 2012
    June 2012
    May 2012
    April 2012

    Categories

    All
    Acrylics
    Art
    Art In The Park
    Art Materials
    Art Retreat
    Backcountry
    Backwoods
    Canoeing
    Color
    Color Theory
    Colours
    Colour Theory
    French Easel
    Group Of Seven
    Juried Art Show
    Juried Show
    Landscape
    Lesson
    Loosening Up
    Oil
    Ontario Based Shows
    Painting
    Painting Large
    Photography
    Plein Air
    Plein Air Easel
    Pochade
    Tom Thomson

    RSS Feed

Powered by Create your own unique website with customizable templates.